Tiling might seem intimidating at first, but with the right approach, it can be one of the most rewarding DIY projects for your home. Whether you’re freshening up a bathroom, giving your kitchen backsplash a new look, or tackling a floor project, the process becomes much easier once you understand the steps. Here’s a beginner-friendly guide to help you get started.
Step 1: Gather Your Tools and Materials
Before you start, make sure you have everything ready. At minimum, you’ll need:
Tiles of your choice
Tile adhesive (thinset or pre-mixed)
Notched trowel
Tile spacers
Tile cutter or wet saw
Level
Grout and a rubber float
Sponge and bucket of clean water
Having the right tools from the beginning will save you a lot of stress midway through.
Step 2: Prepare the Surface
A clean, level, and dry surface is key. If you’re tiling over a wall or floor, remove any old finishes (paint, wallpaper, or cracked tiles). Check for bumps or uneven areas and smooth them out. If you’re working in a wet area, like a shower, use a waterproof backer board instead of drywall.
Step 3: Plan Your Layout
This step often gets overlooked, but it makes a huge difference. Dry-lay your tiles on the floor or use a chalk line on walls to see how the tiles will fit. This helps you avoid ending up with awkward, skinny tile cuts at the edges. Start from the center or the most visible area, then work outward.
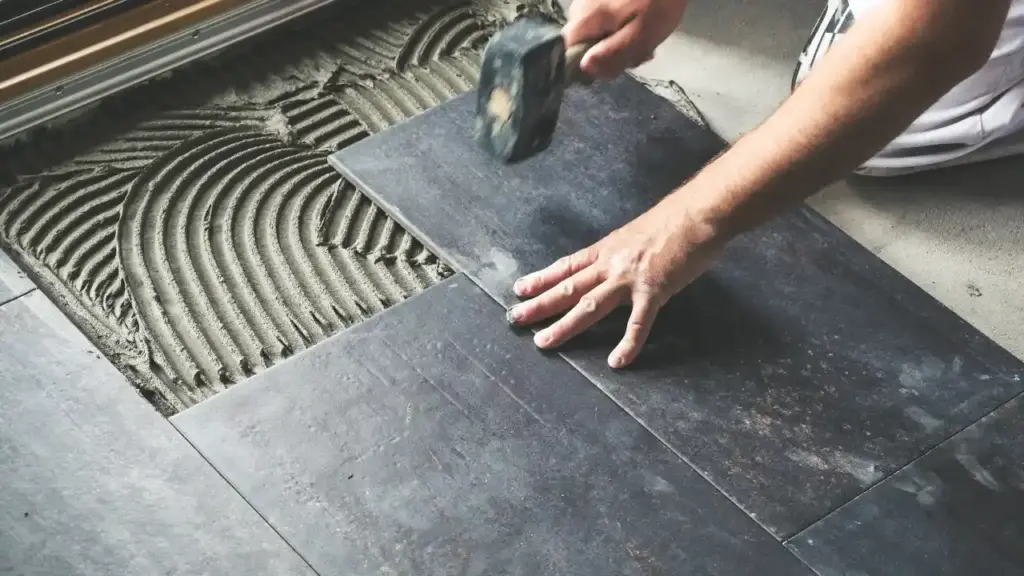
Step 4: Apply Adhesive
Using your notched trowel, spread adhesive evenly on a small section of the surface. Hold the trowel at about a 45-degree angle so the ridges are uniform—this ensures the tiles grip properly.
Step 5: Place the Tiles
Press the tiles firmly into the adhesive and insert spacers between each one to keep gaps even. Use a level regularly to check that your tiles are straight and flat. Adjust as needed before the adhesive sets.
Step 6: Cutting Tiles
You’ll almost always need to cut tiles to fit edges or around fixtures. A manual tile cutter works for straight cuts, while a wet saw is best for tricky shapes or thick tiles. Take your time—rushed cuts lead to wasted tiles.
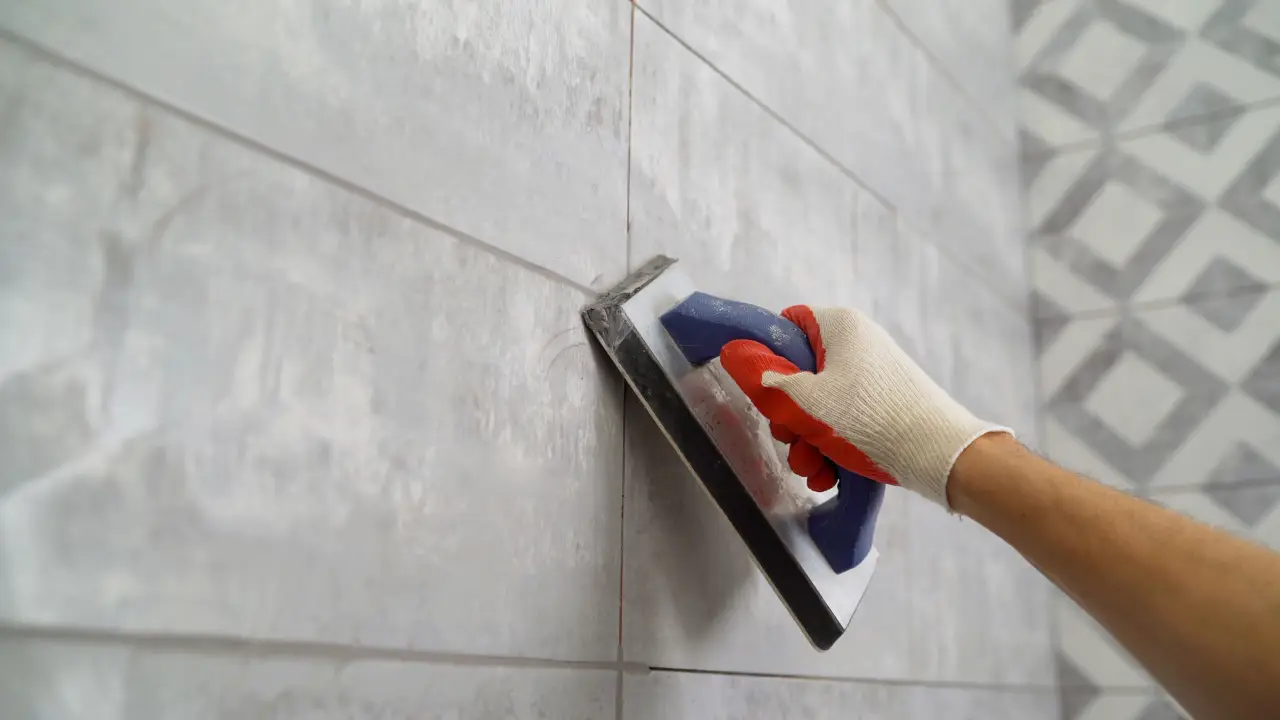
Step 7: Grouting
Once the adhesive has fully dried (usually after 24 hours), remove the spacers and mix your grout. Apply it with a rubber float, pressing it into the gaps at a 45-degree angle. Wipe away the excess with a damp sponge, rinsing often. Don’t worry if the tiles look hazy; that’s normal. After the grout sets, you can buff off the haze with a dry cloth.
Step 8: Sealing and Finishing
If your tiles or grout require sealing, apply it once everything is dry. This protects against stains, moisture, and wear. Finally, step back and admire your new tiled space—you did it!
Extra Tips for First-Timers
Start with a smaller project, like a backsplash, before tackling an entire floor.
Work in manageable sections so the adhesive doesn’t dry before you place tiles.
Keep a few extra tiles for future repairs—styles often get discontinued.
Final Thoughts
Tiling isn’t just about improving a space—it’s about the satisfaction of doing it yourself. With patience, planning, and a steady hand, even beginners can achieve professional-looking results. Don’t be afraid to make mistakes; every project teaches you something new.
And if you’d rather skip the stress—or just want an expert finish—ASG Handyman Services is here to help. From tile installation to a wide range of home projects, their skilled team makes sure every job is done right the first time.